Configuration
Migration Custom Field Context Configuration to New Configuration Experience
In previous versions of the app we used the custom field context to configure the year range that is associated with the instance of the custom field. However, we have now changed this so that the app has its own configuration screen.
Login as a Jira Administrator and Select Admin ⚙ > Apps.
Select Quarter Field Configuration in the Apps navigation menu on the left hand side of the screen.
The existing custom fields (if any) will be displayed
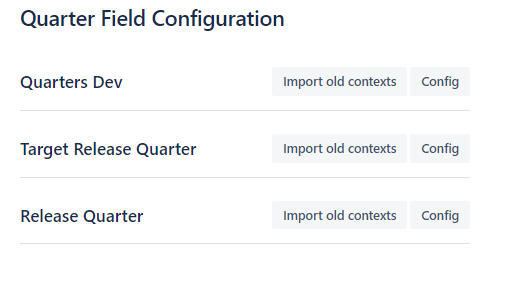
If you have used a previous version of the app, and have created some Quarters fields, then you can use the “Import old contexts” button to import the settings for those fields.
Create an Quarters Custom Field
We start by creating the custom field in the normal way and choose the Quarters Field type.
Login as a Jira Administrator and Select Admin ⚙ > Issues.
Under FIELDS, select Custom fields.
Click Create custom field. Make sure to select All to view the available field options.
Scroll down the list and select the Quarters Field Type and click Next.
Type the Name and Description of the field.
The name you select appears as the custom field's title wherever the field appears.
When you have entered the field Name and Description details, select Create.
Optionally, add the new custom field to one or multiple screens by ticking the corresponding box and click Update.
Configure the field
Once the field is created we can configure the field to display the quarters between two calendar years.
Login as a Jira Administrator and Select Admin ⚙ > Issues.
Under FIELDS, select Custom fields.
In the Search box, type the name of your Quarters Field.
In the custom field search results, select the “...” menu button next to the field, and select Contexts and default value.
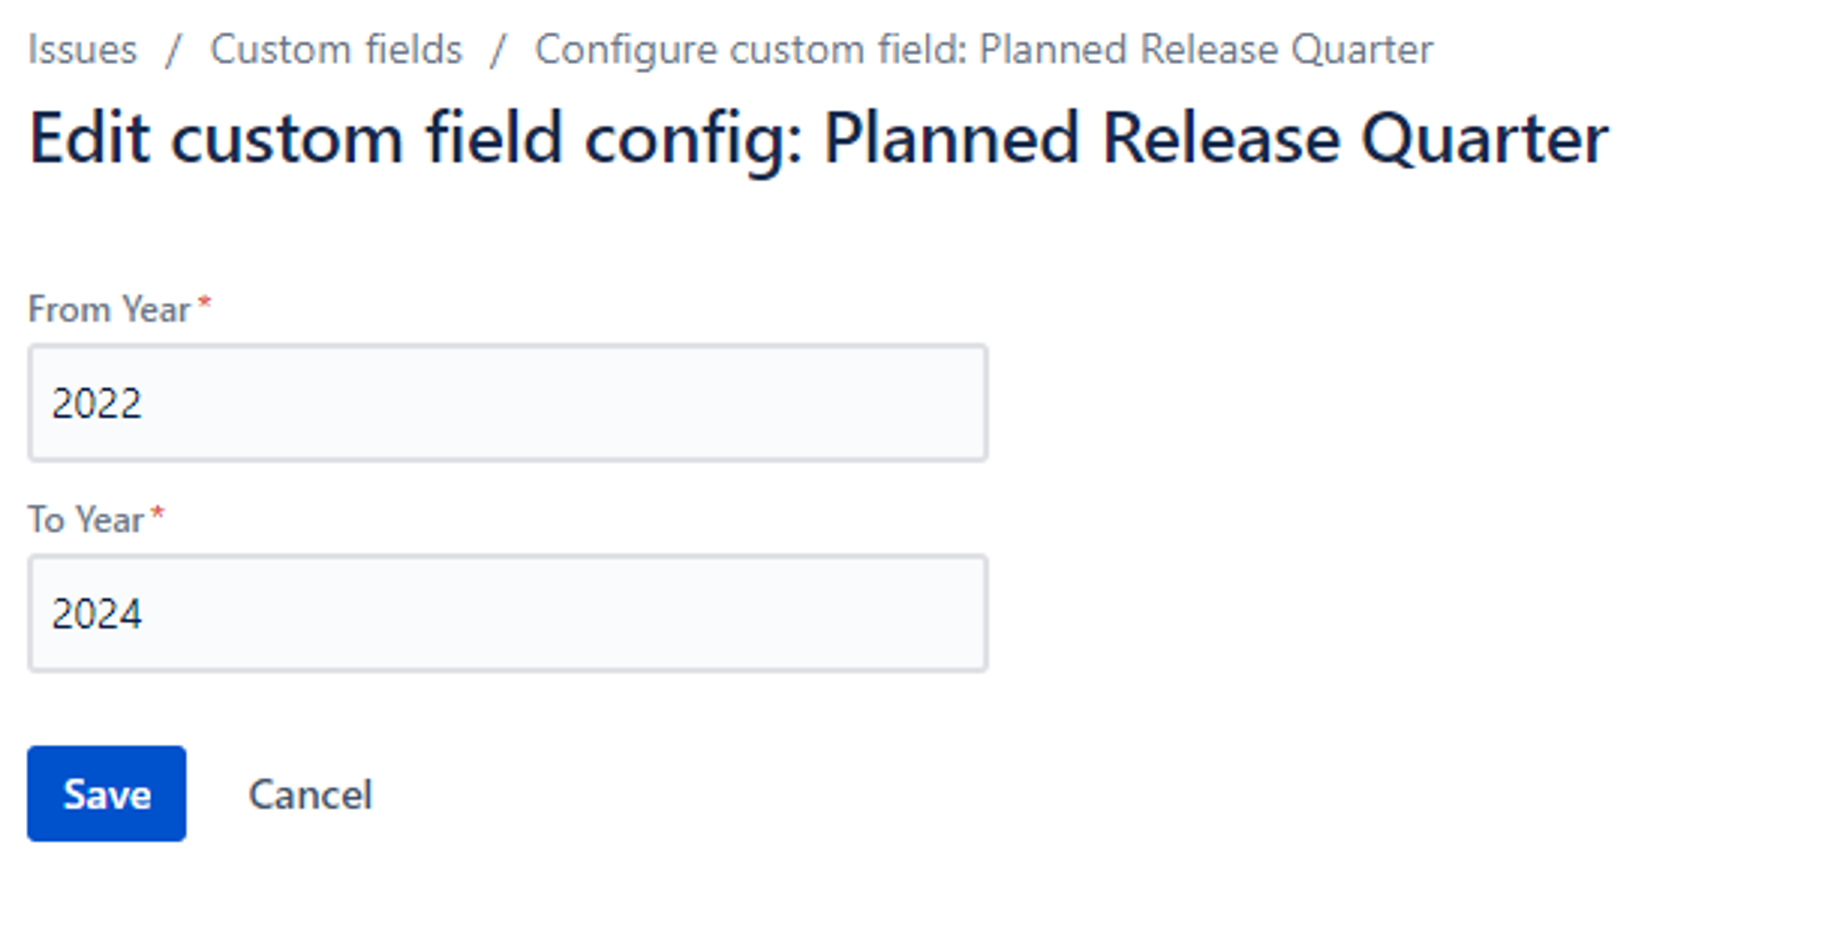
Click the Edit custom field config link.
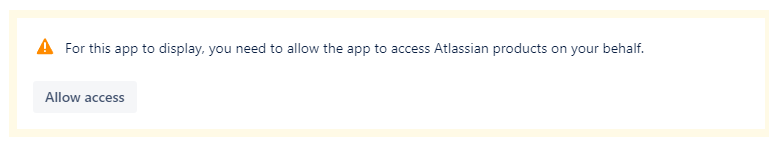
If this is the first time you have used this field type then you will be accessed to grant access to the app before you can configure the field. Follow the on screen instructions and grant acces for the application.
In the configuration settings, enter the start and end year.